Setting up the Raspberry Pi as a Headless Device
Wondering how to install the Raspbian operating system on your Raspberry Pi? I've created a guide for that as well.
After receiving my Raspberry Pi, I began to look for a place to plug it into. I've always assumed that at least one of my two monitors sitting on my desk had an HDMI port, but I've always used DVI. I happened to be wrong-- neither of them had HDMI, meaning I had to commandeer a television somewhere else in my house.
I plugged the device into a 55" TV in my living room and booted it up with a 2GB SD card I had prepared earlier and began installing some things that would allow me to run the device headless. This is important, because I do not want to be forced to sit on the floor in front of the TV every time I want to use the Raspberry.
Setting Up TightVNCServer
Because I don't currently have a real monitor to hook up the computer to, I had to find a way to use it without being physically attached to a screen. Naturally, VNC is the perfect tool for the job.
I simply installed TightVNCServer using APT and configured it quickly:
root@raspberrypi: ~# apt-get install tightvncserver
root@raspberrypi: ~# tightvncserver :1
After initializing for the first time, I killed the server to do some configuration:
root@raspberrypi: ~# tightvncserver -kill :1
I added the VNC start command to the /etc/rc.local file to run the VNC server at boot:
echo "Starting VNC server on port 5901"
sudo -u pi tightvncserver :1
This simply starts a VNC server on screen one, which is port 5901. If you were to use screen two, the port would be 5902, and so on and so forth.
The issue was, now that I had the VNC server running, how would I connect to it? There wasn't an easy way to get the IP address of the Raspberry without using ifconfig, but that required a monitor connected to the device to see the output.
An easy way to always know the IP address of the device is to simply set a static IP instead of DHCP allocating one for me. Because my router assigns IP addresses from 192.168.1.100 to 192.168.1.149, I assigned the Raspberry an IP address of 192.168.1.222.
You can do this in Debian Squeeze on the Raspberry by modifying the /etc/network/interfaces file.
I removed the original iface eth0 line and replaced it with the following:
iface eth0 inet static
address 192.168.1.222
netmask 255.255.255.0
gateway 192.168.1.1
I shut down the Raspberry, disconnected it from my TV, and moved it to a more permanent home-- my desk in my room, which happens to be right next to my wireless router (for Ethernet).
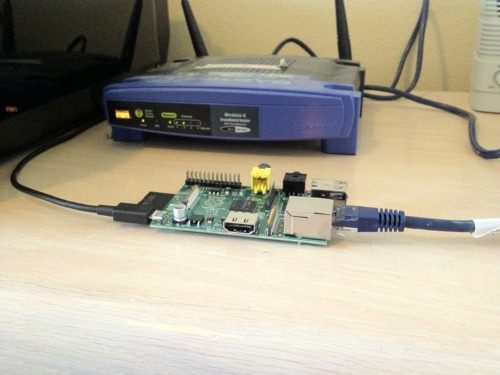
Yes, it is an old wireless router.
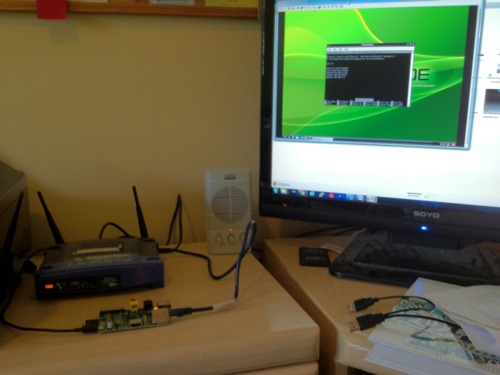
After waiting for it to boot, I VNC-ed into it, and it works perfectly! I just ordered a HDMI to DVI cable on Amazon for $0.83 so I can do more graphically intense things with the Raspberry without it lagging over the network-- we'll see how that works...
On my PC, I just use TightVNCViewer. On my Macbook Pro, the default screen sharing app works great.
After getting this setup, I compiled Node.js and let it sit overnight-- it took over an hour.
The next step is to find or build a case...